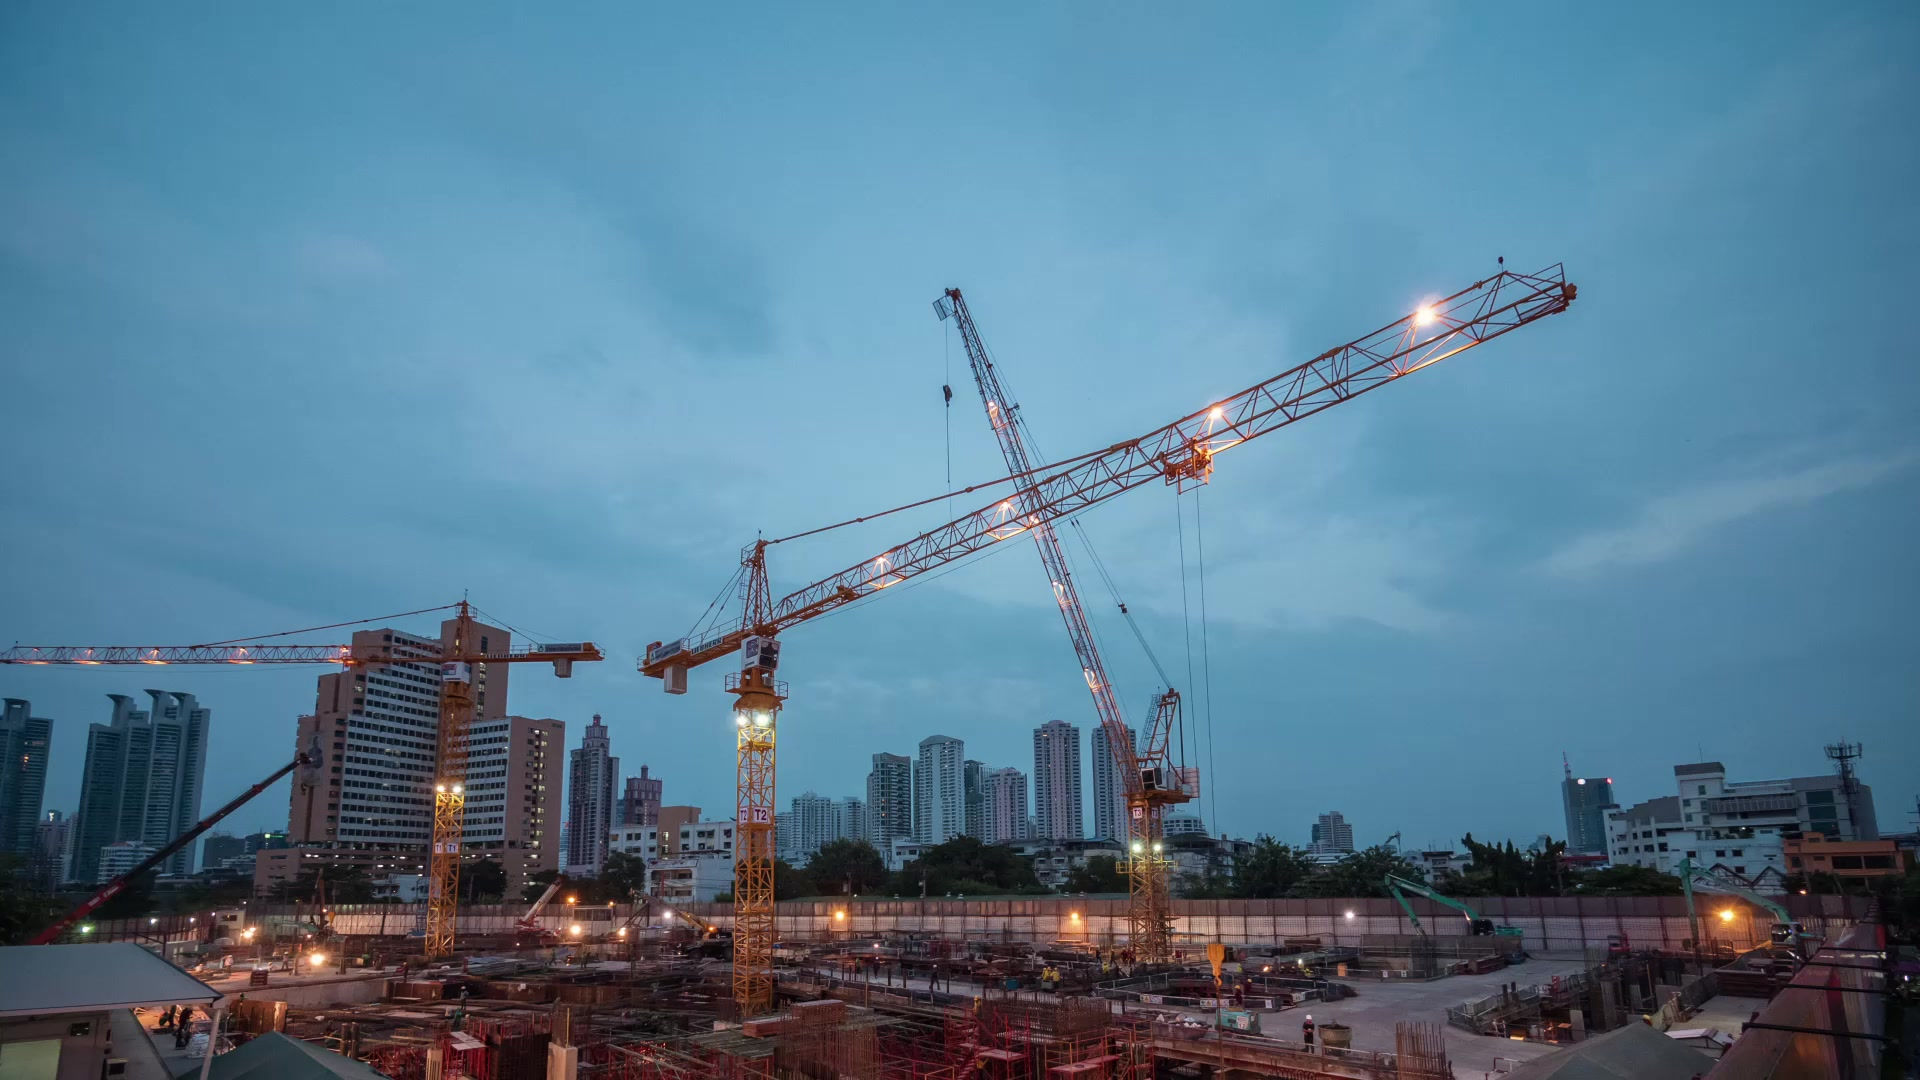
How to pour a Concrete Slab
- Rafzan

- Jan 16, 2019
- 3 min read
Pouring a concrete slab is crucial in the construction of a strong durable slab. A concrete slab keeps the structure off the ground which reduces the transfer of moisture from the ground onto any material the structure uses, preventing mold and rot.
Several steps must be undertaken in the pouring of a slab:
1. Planning
Required materials and necessary tools are prepared and delivered to construction site.
2. Prepare Construction Site
Specify the size of the slab and remove any bush, tree, rocks or obstructions from the construction site.
3. Mark Slab Base Location
Specify first corner of the slab from any known points, and use this point to determine the remaining corners. After that, measure the diagonal distances from each pair of opposite corners and adjust one until both are the same. Then, run string-line around the corner stakes at a desired height.
4. Excavation
The area that needs to be excavated for the foundation must be slightly larger than the area of the shed to account for formwork accommodation. The depth of excavation, which is measured from string line, is based on the thickness of the slab, extension of the slab above ground, thickness of gravel layer at bottom of the foundation. It must be level and loose materials are required to be removed.
5. Fix and Level Formwork
After the completion of excavation work, a formwork is fixed and level. It needs to be strong to make sure that the concrete pressure is contained. No gaps in formwork are acceptable since it allows concrete to escape. Frequently, wood formwork is used.
6. Place and Compact Gravel Layer
Gravel layer can be placed after the formwork is fixed and levelled. In order to achieve good compaction degree, it is recommended to place and compact gravel in three layers.
Suitable compaction machine such as vibrating plate can be used to apply compaction effort. Gravel layer levelness shall be examined, in addition to its thickness which can be checked by measuring from the top of the form to the top surface of gravel layer.
Gravel layer thickness around the perimeter of the slab is decreased in order to have greater concrete thickness.
7. Install Mesh
Steel bars or steel mesh are installed to overcome the brittleness of concrete. The rebar needs to be suspended in the middle of the concrete to be effective. Chairs are wired to the grid to lift it off the ground. Finally, the thickened concrete around the perimeter of the slab shall be reinforced with a lining of bars or by tying bars to an external bar such as a Z bar.
8. Pour and Compact Concrete
After reinforcement , concrete pouring and compaction process can be carried out.
9. Level and Finish Concrete
The concrete should be slightly above the forms. Use tools to spread the concrete around and move it into low areas.
Smoothen the concrete surface after screeding process is finished.
After the smoothening is done, finishing work begins. Concrete finishes should be applied when the top of the concrete is semi-dry. After slab levelling, the water rises to the top of concrete surface which gives a glossy look to the concrete. After the slight evaporation of water, finishing process can be commenced.
The time it takes for this to happen varies on the temperature, and how much sunlight is exposed to the concrete. If concrete is poured in hot weather condition, then finishing shall be done quickly. However, if the slab is constructed in cold weather, it might take a while till concrete is ready for finishing work.
10. Concrete Curing
Based on the weather condition, select suitable curing regime to make sure that concrete achieves the designated strength. Commonly, the curing process begins 24 hours after the pouring of concrete.


I have bought many things form my brother. He gave me a list on wall tile removal and he has to achieve the LFG this year therefore he is happy of both reasons and have to share his happiness with me